I love the Fall. Warm soups and stews are just begging to be made. Visions of pot pies float through my head. Some of my favorite fall dishes are braised dishes, like Bœuf Bourguignonne, and although the quintessential version that I made last winter is amazing, sometimes it’s a little on the heavy side. Plus, it’s a lot of work with all the separate steps of sautéing the bacon and mushrooms separately, not to mention caramelizing the pearl onions all while simmering the beef in yet another pot.
 I wanted to make a beef stew to freeze and give to my Grandparents for their birthdays last week. (In addition to the stew, I made them 6 cute individual chicken pot pies and 2 meatloaves, which I think will help ease the burden of cooking a little bit.) The beef stew, however, was going to be our dinner that night, as well, so while I wanted something traditional that Grandma and Grandpa would like, I still wanted a lot of flavor.
There are many recipes out there for Beef Stew, but I’ve always found that if you don’t marinate the beef before braising it, the stew is almost always utterly flavorless. After having marinated the chunks of beef overnight and simmered the stew about 3-4 hours, the meat truly transforms and becomes incredibly tender. Turns out if you cook it all damn day, it’s pretty good! Actually, despite the long ingredient list, this is a pretty easy dish. Once you make it, you'll never go back to your shortcut stew. For a more elegant dinner, leave out the potatoes and prepare a fancier gratin or mashed potato on the side.
I combined parts of my bœuf bourguignonne recipe with a more traditional stew recipe to make this wonderful version. It’s rich with red wine and beef stock, but has added potatoes and a bit of tomato paste and brown sugar for a bit more depth, but not the salty bacon flavor of the French version. It’s a little boozy, but maybe that’s why it’s so damn good.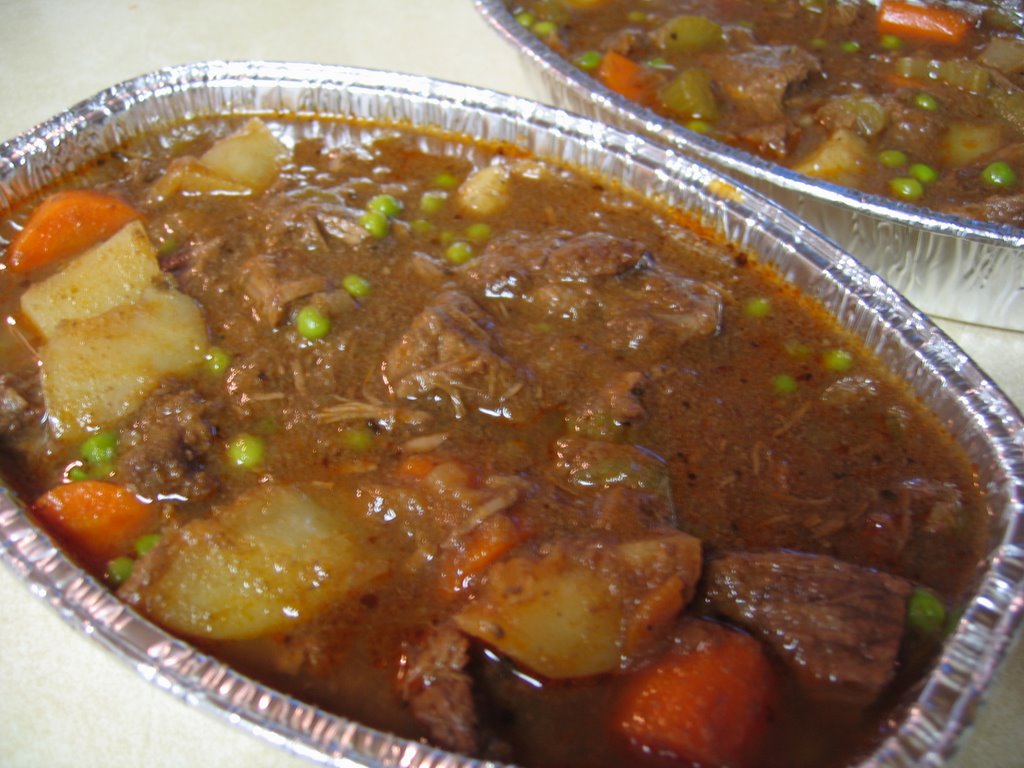
My Favorite Beef Stew
3 pounds lean beef stew meat
2 ½ or 3 cups dry red wine
2 cups beef broth
¼ cup brandy, cognac or dry sherry
2 bay leaves
3 cloves garlic, sliced or smashed
10 whole peppercorns
5 whole cloves
5 whole allspice berries, if you have them
1 tsp dried thyme
1 tsp dried rosemary
1 onion, sliced
Combine all the ingredients in a large ziploc bag that has been placed in a large bowl for support. Combine the marinade well. Place in the refrigerator overnight or at least 6 hours. Mine was in the fridge from 8 pm to noon the next day.
½ cup flour
2 Tbsp butter
2 Tbsp olive oil
2 Tbsp tomato paste
1 Tbsp brown sugar
1 large onion, coarsely chopped
3 carrots, peeled and cut into 2-in chunks
2 ribs celery, cut into 1-in chunks
3
1 tsp dried thyme
1 tsp dried marjoram
½ cup frozen peas
1 cup sliced mushrooms
Fresh parsley, chopped
Additional beef broth, up to 2 cups
Strain the marinade from the meat, reserving all the liquid, but discarding the onion, garlic, peppercorns, bay leaves, and cloves. Set this marinade aside.
Melt the butter into the olive oil in a large dutch oven. Pat the meat dry with paper towels. Pour the flour onto a large plate. In batches, lightly coat the chunks of beef with flour and place in the dutch oven. Sear the pieces of beef until well browned on all sides, 4-5 minutes, and remove to a plate. Repeat with all the remaining beef.
Add more olive oil to the pan if needed and sauté the onions, carrots and celery until almost translucent. Stir in the tomato paste. Season the vegetables with salt and pepper. Deglaze the pan by pouring in about 1 cup of the reserved marinade and scraping up the browned bits from the bottom of the pan. Pour in the rest of the marinade, add the brown sugar, thyme, marjoram and beef to the pot, and bring it to a simmer. Simmer, covered, on low heat for about 2 hours. (This could alternatively be put in a crock pot and simmered all day on low and finished when you get home.)
After 2 hours, the beef is almost good enough, but we want it to be amazing, so add the potatoes at this point and keep it simmering. Add a bit more beef broth to keep all the vegetables covered and so it doesn’t get too thick. Let the potatoes cook for 30 minutes, then add the sliced mushrooms and frozen peas. Continue to simmer about 10 minutes of until the mushrooms are done to your liking. Stir in the fresh parsley and taste for seasoning. You may need to add salt and pepper, or beef broth for the taste and consistency you like. Of course, it will taste better in 3 days, but who could wait? I actually like the cleaner taste you get on day one. Serves about 9.